
Arduino Robot Chassis
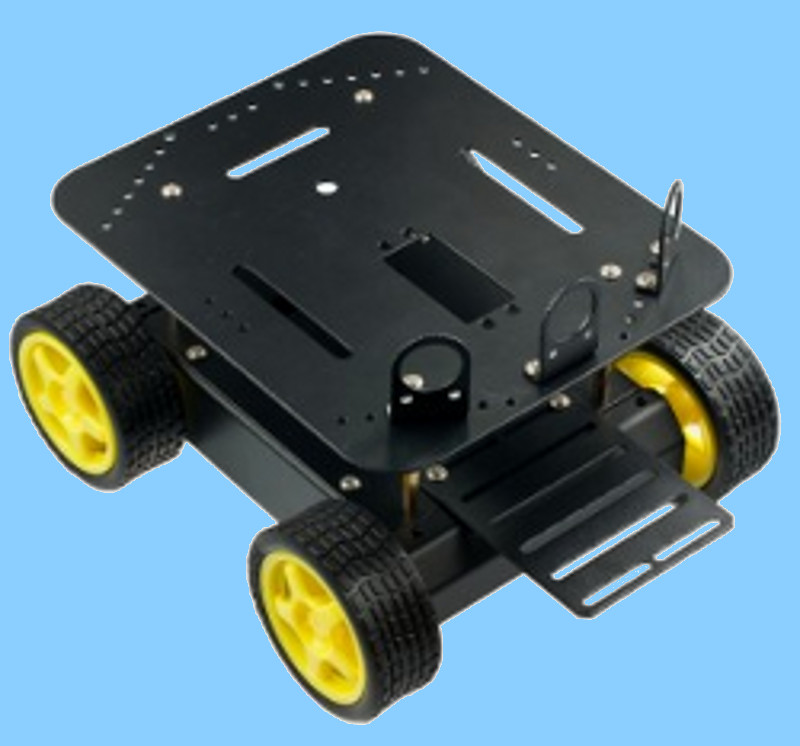
Assembling the DFRobot chassis is straightforward based on the supplied instructions. My kit came with both long and short sets of brass coloured spacers to go between the chassis and the top plate. I used the longer spacers to allow room for some extra sensors or batteries in the future.
As the motor shield has its own power switch I decided to bypass the chassis switch and charging socket and so just pulled the motor and battery pack wires through to the chassis top plate leaving enough spare wire to connect them to the breadboard and motor shield.
The motor wires for the two motors on each side of the chassis should be combined so you have just two pairs of wires, one for the left motors and one for the right. Use a battery to make sure the wheels on each side turn in the same direction when a voltage is applied.
The chassis is very solid and a good project base for adding extra equipment although the ground clearance is less than 1 inch so is really only suited to indoor, flat surface, running. The supplied motors and gearboxes are small but so far are running okay. Time will tell if they are reliable.
The chassis is supplied with a 5 cell battery pack although a 6 cell pack could also be used if you have one available.
Return to home page.